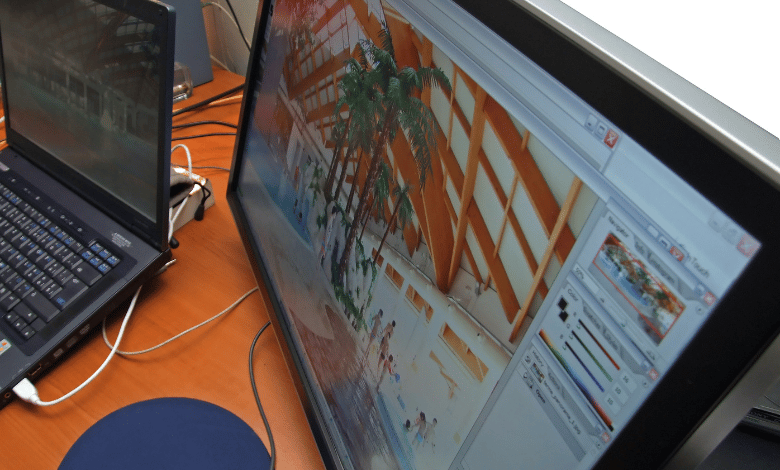
Want to know how to set up dual screens in your Laptop with Windows 10 installed? Then this article is for you.
The great news is that setting up dual screens is super easy. You will only need three to five minutes for this if you follow the method discussed in this guide.
What is it? Continue reading to know!
How To Set Up Dual Screens In a Laptop Having Windows 10?
You can set up dual screens in a laptop with Windows 10 in three simple steps. These are:
1. Connect Your Laptop With Another Laptop or PC
The first thing to do when you want to set up a dual screen on your laptop is to connect it to another laptop or PC. You should use cable for this purpose.
Generally, people use an HDMI cable and plug it in the HDMI ports of the two devices. However, other cables will work fine too. Choose a cable that supports both devices that you are going to connect.
2. Go To Display Settings
After connecting both devices with cable, you can see the screen of another laptop/PC on your laptop. You should then go to the display settings and change some options there.
There are three ways to open Display Settings:
- Press the Windows and P keys together, and the display settings will appear.
- The second way of opening the Display settings is by clicking the Start button and going to the “Settings” option. Then, choose ”System” and then click on the “Display” option.
- Third way is easier than the above two ways. Right-click on the screen and you will see the “Display Settings” option there.
If the laptop is not recognizing the other device, click on the “Detect” option there and let your laptop scan once again.
3. Adjust The Settings
When you see two screens after opening Display Settings, start scrolling down. You will see the “Multiple Displays” section. Click on it, and you will see the three options about how the desktop should display the screens.
You should also make sure that both connected devices have the same resolution selected by default. If they don’t, there will be problems with the display of screens.
For better display, you should choose 1920 x 1080 for both devices.
After changing the Settings, click on “Keep Changes” to save them. That’s it. You now have set up the dual screens in your laptop with Windows 10.
How To Disconnect Dual Screens?
You don’t have to click on any special button or press any keys to disconnect the dual screens. You can just unplug the cable connecting both devices, and the dual screen will end automatically.
To confirm, open the display settings again, and you will see a single screen there. That’s how you will know that the dual screens have successfully disconnected, and you can then use your laptop as usual. It’s that easy with Windows 10.
So, follow everything described above and easily set up dual screens on your laptop.
Check More Of Our Content Down Below
How Much Is Digital Marketing | Choose Digital Marketing Pricing
How Does The Sales Funnel Work | All The secrets behind Funnel Sales
